Hello ya all,
I am back, this time with an easy wall art. I found this damask stencil, that reminded me of the pattern on my wedding invite. I picked it up immediately, with really no idea in mind! A week later, I found a trio of wooden boards outside a construction site, again picked it with no idea in mind!
Did not take me long to put the two together! Here is what I did -
I first painted the boards, I used teal and yellow, the same combination as my wedding invite.
I was ok with the paint lines and steraks showing through, I did not want it perfect.
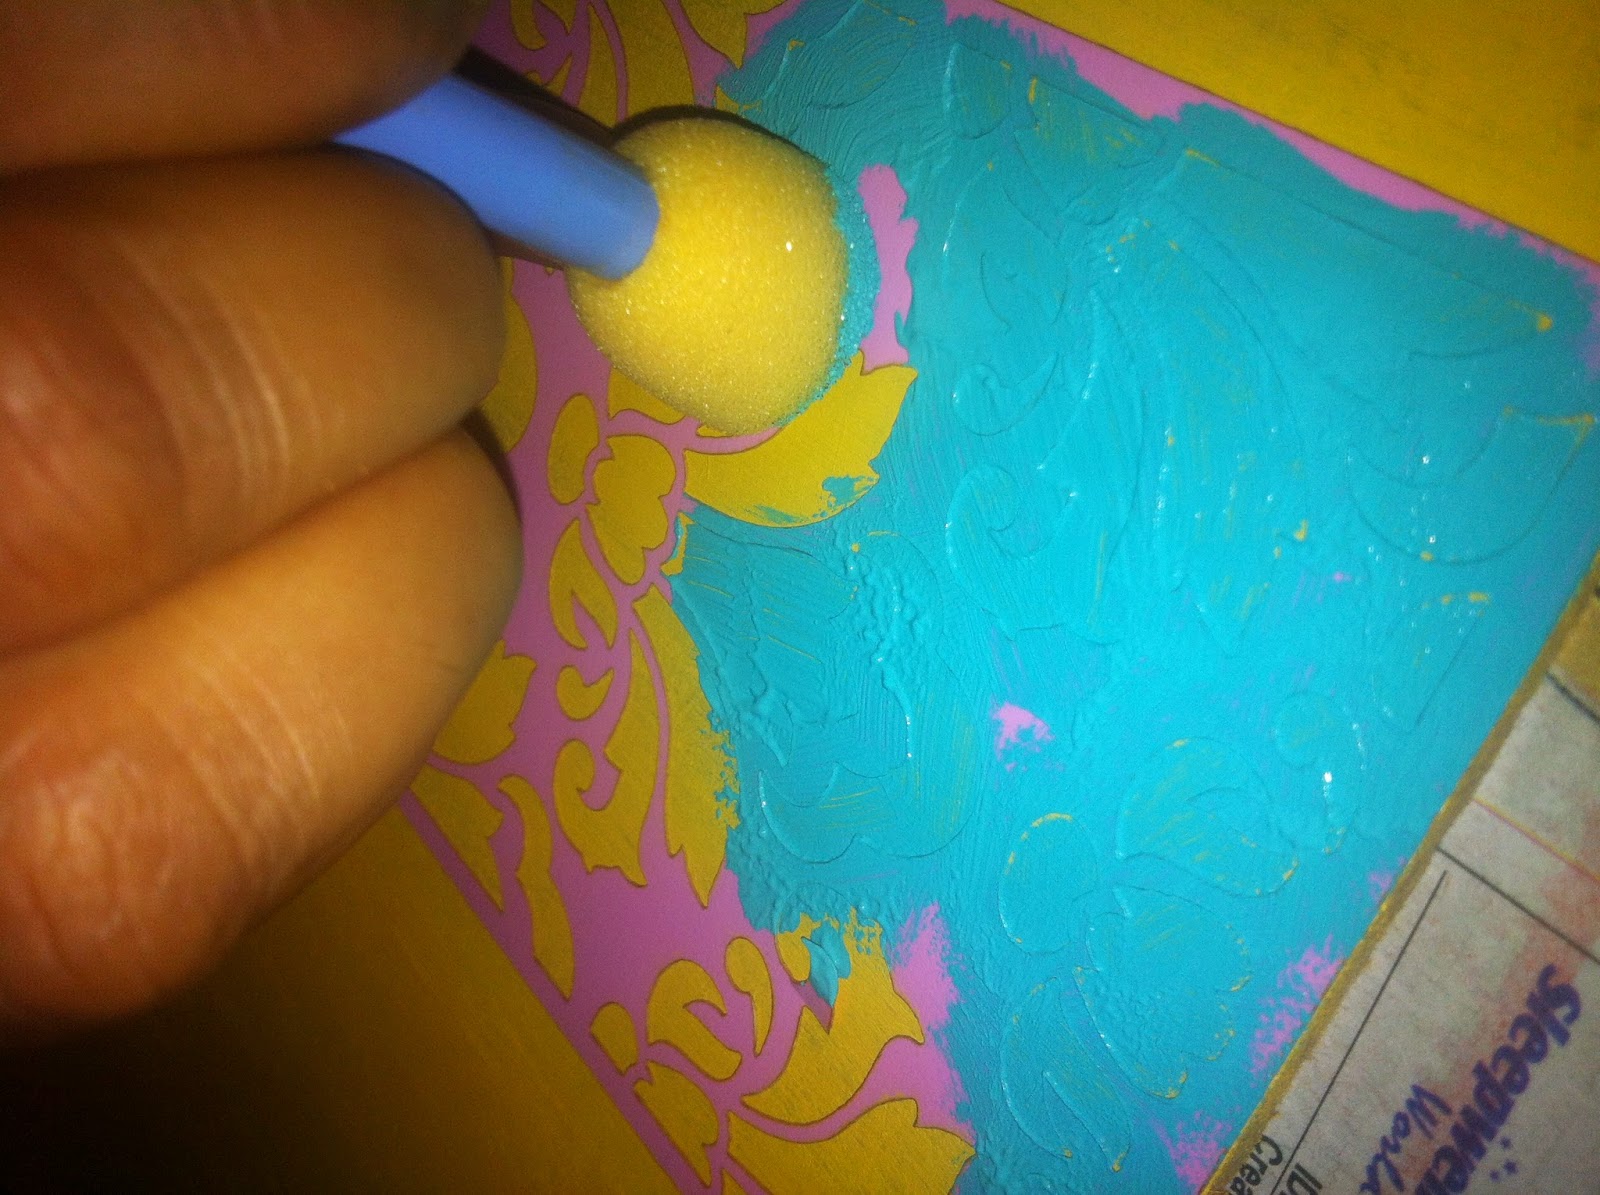
Once the background was done, I let it dry. the fun part now, stenciling! I used a foam brush to dab at the stencil. I learnt that keeping the paint think prevented the paint from getting blotchy.
I alternated the colors for one of the boards. Voila, here are the boards hung in my drawing room!
I love how they adorn the wall, an easy art to color up an empty space.
The fact that they mimic my wedding invite just makes it even more
special!


